Building a robot might seem like a challenging task, but it doesn’t have to be. By focusing on basic concepts, you can create a functional and exciting robot using simple components. This guide breaks down the process for beginners eager to learn how to make a simple robot.
What Is a Simple Robot?
A simple robot is an automated device that performs specific tasks based on its programming or hardware configuration. Unlike complex industrial robots, simple robots rely on basic sensors, motors, and microcontrollers for operation, making them perfect for beginners.
Tools and Materials Needed
To start building your robot, gather these essential materials and tools:
Materials
- Arduino board (or any microcontroller)
- DC motors with wheels
- Chassis kit
- Ultrasonic sensor (for obstacle detection)
- Battery pack
- Connecting wires
- Breadboard
Tools
- Soldering iron
- Screwdriver
- Wire stripper
- Hot glue gun
By preparing these items in advance, you’ll avoid delays during the construction process.
How to Make a Simple Robot: A Step-by-Step Guide
Follow these straightforward steps to bring your robot to life:
Step 1: Assemble the Robot’s Base
The base forms the foundation of your robot. Secure the chassis, attach wheels to the motors, and mount the motors onto the chassis using screws or glue. Ensure all components are stable for smooth operation.
Step 2: Connect the Motors to the Controller
Use a motor driver module to connect your DC motors to the Arduino. This module allows the microcontroller to control motor movement. Follow these sub-steps:
- Wire the motor driver to the Arduino.
- Connect the motors to the driver.
- Attach a power source.
Step 3: Add Sensors for Functionality
Incorporate the ultrasonic sensor for basic obstacle avoidance. Mount the sensor on the robot and connect it to the microcontroller following these connections:
- Signal pin to an input on the Arduino.
- Power and ground pins to appropriate terminals.
Step 4: Program the Robot
Install the Arduino IDE on your computer and write a simple program for movement and obstacle detection. For example, code the robot to stop and turn when an obstacle is detected:
Upload the code to the Arduino using a USB cable.
Step 5: Power Up and Test
After ensuring all connections are secure, power your robot using batteries. Observe its movements and adjust the programming or hardware if necessary to improve performance.
Key Components in Building Simple Robots
Microcontrollers
A microcontroller like Arduino acts as the brain of your robot. It processes inputs from sensors and issues commands to components like motors.
Sensors
Sensors such as ultrasonic or infrared provide feedback for the robot to respond to its environment effectively.
Motors
DC motors or servo motors are essential for movement. Their functionality depends on the power supply and motor driver configuration.
Tips for Beginners: How to Make a Simple Robot Successfully
- Start Small: Focus on building a simple moving robot before adding complex features.
- Test Continuously: Regularly test connections and code to identify and fix errors early.
- Learn From Resources: Use online tutorials and forums for additional guidance and support.
Common Challenges and Solutions
- Unstable Robot Movement: Ensure the chassis is well-balanced and components are securely mounted.
- Programming Errors: Debug your Arduino code step by step to identify mistakes.
- Faulty Connections: Double-check wiring, especially power and ground connections, to prevent circuit failures.
Understanding the Role of Code in Robotics
The code defines your robot’s behavior. It translates sensor data into actions, enabling the robot to move and interact with its surroundings. Writing efficient and clean code minimizes glitches and enhances functionality.
Also read: Embedded Software Development Tools: Essentials and Insights
Safety Precautions When Building a Robot
- Avoid direct contact with soldering iron tips to prevent burns.
- Handle batteries with care to avoid short circuits.
- Work in a well ventilated area when soldering.
Enhancing Your Robot with Additional Features
Once your simple robot works, consider adding features like:
- Bluetooth Module: Enable wireless control using a smartphone.
- Line Following Sensor: Program the robot to follow a designated path.
- LED Lights: Add visual indicators to make the robot more interactive.
Conclusion
Building a robot may seem complex, but learning how to make a simple robot is a fantastic way to start your journey in robotics. With the right tools, components, and a step-by-step guide, anyone can create a functional robot at home. Embrace the learning process and don’t be afraid to experiment!
FAQs
How much does it cost to build a simple robot?
The cost varies but typically ranges from $20 to $50, depending on the components used.
Can beginners build a robot without prior knowledge?
Yes, beginners can start with basic robotics kits and follow guides like this one to build simple robots.
What programming language is used for robots?
Languages like C++ and Python are commonly used for programming microcontrollers and robotic functions.
How long does it take to make a simple robot?
Building a simple robot usually takes 2-3 hours, depending on experience and complexity.
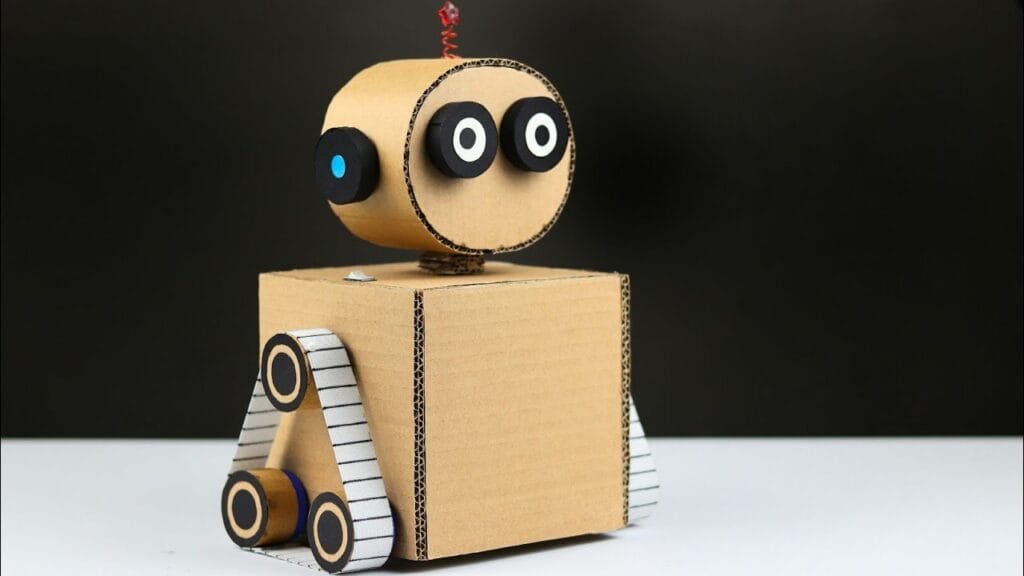
Can I use recycled materials to build a robot?
Yes, items like plastic containers and old electronic components can be repurposed for creating a robot.
What is the primary use of a simple robot?
Simple robots are often used for educational purposes, hobby projects, or as prototypes for more advanced systems.