Have you ever sat in class staring at a blank slide, wondering how to make biology sound less like a textbook and more like a story? That’s where a life process PPT swoops in as your savior. A well-structured presentation doesn’t just throw information at people—it guides them step by step, showing the beauty of how living organisms keep themselves alive.
Life processes are those fundamental actions like breathing, eating, digesting, moving, growing, and reproducing. Pretty much everything that makes us more than just a chair in the room. And when explained with a clear PowerPoint presentation, these processes not only stick better but also spark curiosity.
So, if you’re working on a school project, teaching in class, or just geeking out about biology, this article is going to walk you through how to create a meaningful and impactful life process PPT.
What Are Life Processes?
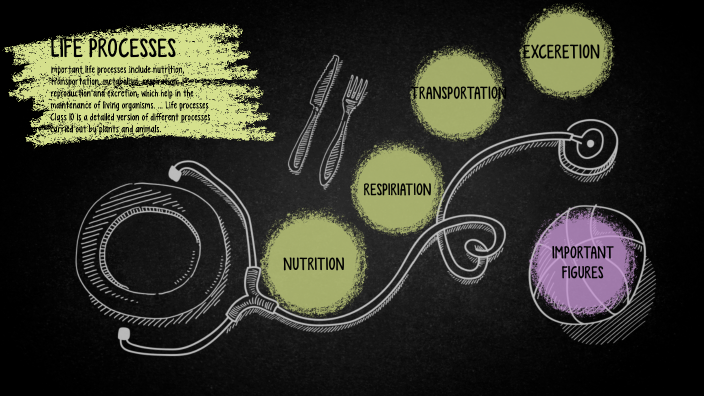
Before diving into the design and structure of your slides, let’s get the basics straight. Life processes are activities carried out by organisms to maintain life. Without them, living things cannot survive.
The major life processes include:
-
Nutrition
-
Respiration
-
Transportation
-
Excretion
-
Reproduction
-
Growth
-
Movement
These seven processes are like the “checklist of life.” Miss one, and survival isn’t possible.
Why Choose a PowerPoint for Explaining Life Processes?
PowerPoint presentations have been a classroom staple for years, and there’s a reason for it.
-
Visual appeal: Complex biology terms get simplified with diagrams and flowcharts.
-
Engagement: Slides keep the audience hooked better than plain lectures.
-
Clarity: Processes can be broken down step by step.
-
Retention: People remember more when they both see and hear information.
In short, a life process PPT helps transform biology lessons into digestible nuggets.
Structuring Your life process ppt
A messy presentation can confuse more than it teaches. That’s why structuring matters. Here’s a suggested flow:
-
Introduction Slide – Define life processes.
-
Nutrition – Cover autotrophic and heterotrophic nutrition.
-
Respiration – Aerobic and anaerobic explained with diagrams.
-
Transportation – Movement of food, water, and gases.
-
Excretion – Waste removal systems.
-
Reproduction – Asexual and sexual reproduction.
-
Growth and Movement – How living organisms develop and interact.
-
Conclusion – Summary and importance.
This outline keeps your life process PPT neat and logical.
Deep Dive: Key Processes to Include
Nutrition
Food is fuel. But organisms don’t all eat the same way. Plants prepare food via photosynthesis, while animals depend on external sources. Explaining this with colorful images of leaves and digestive tracts works wonders.
Respiration
Every cell breathes, even if it doesn’t have lungs. Aerobic respiration uses oxygen, while anaerobic respiration does not. A fun slide comparison between running (aerobic) and yeast fermentation (anaerobic) can make this relatable.
Transportation
In plants, xylem and phloem handle the movement of water and food. In humans, blood circulation rules the stage. Diagrams of heart chambers or root systems are essential in your life process, PPT here.
Excretion
No one likes talking about waste, but hey, it’s important. Kidneys in humans, stomata in plants—different organisms have different ways of removing what they don’t need.
Reproduction
The process by which life continues. Some organisms clone themselves (asexually), while others need two parents (sexually). This section can be visually engaging with plant pollination diagrams and animal cycles.
Growth and Movement
From tiny seeds to towering trees, from crawling babies to marathon runners—growth and movement are proof of life. Keep this section simple but impactful.
Tips for Making an Engaging life process ppt
Creating slides is more than just dumping text. Here’s what works best:
-
Keep text minimal. Use bullet points instead of paragraphs.
-
Add diagrams. A picture of the human respiratory system speaks louder than a hundred words.
-
Use animations wisely. Overdoing them distracts, but slight transitions make learning smoother.
-
Include examples. Link concepts to real life (e.g., why we pant after running).
-
Add a conclusion. Wrap up by reminding why life processes are vital.
Common Mistakes to Avoid
Even the brightest students sometimes mess up presentations. Watch out for:
-
Overcrowding slides with too much text.
-
Forgetting to cite diagrams or sources.
-
Ignoring flow—jumping from respiration to reproduction randomly confuses the audience.
-
Reading word-for-word from slides instead of explaining naturally.
Benefits of a life process PPT for Students
-
Builds confidence while presenting.
-
Makes biology lessons interactive.
-
Encourages group discussions.
-
Helps in long-term retention for exams.
Teachers also love it when students put in this extra effort—it shows dedication and creativity.
Step-by-Step Example Slide Outline
Here’s a sample structure you could follow for your life process PPT:
-
Title Slide – “Life Processes” with an eye-catching background.
-
Definition – Short explanation with an image of plants and animals.
-
Nutrition – Flowchart showing autotrophic vs. heterotrophic.
-
Respiration – Diagram comparing aerobic and anaerobic.
-
Transportation – Heart diagram + plant vascular system.
-
Excretion – Human kidney diagram + stomata in plants.
-
Reproduction – Plant pollination + animal cycle.
-
Growth and Movement – Before/after images or gifs.
-
Conclusion – Summary slide.
Wrapping It Up
A life process PPT is more than a school assignment—it’s a tool for making biology come alive. By combining visuals, simplified explanations, and structured slides, you can transform tough concepts into an engaging experience.